
How to Set Up an Amazon Fire Stick (Beginner’s Guide) in Just 5 Five Minutes
Table of Contents
How to Set Up an Amazon Fire Stick ? .With the rise in popularity of video streaming services like Hulu, Netflix, Hotstar, and Amazon Prime, TV consumption is changing quickly all across the world. It would be best if direct-to-home (DTH) service disappears in the near future. In addition to providing far more and better material, video streaming providers really give users a choice. They have millions of TV series, films, documentaries, and more to select from. The Amazon Fire TV Stick is a new product on the video streaming scene
Among the various services available on FireStick, an Amazon-only product, are Amazon Prime Video, Hotstar, Netflix, Gaana, and many more. But the Fire Stick has other notable features as well. You guessed it: Alexa support is included with the Fire Stick control. That means you can use your voice to control anything while lounging on your couch. Quite incredible, don’t you think?
Sit back and unwind if you want to buy the Amazon Fire TV Stick or if you’ve already done so and are worried about how to set it up. We are here to assist you with the initial TV setup of your Amazon Fire TV Stick. All you have to do is carefully follow these procedures, and it will be easy peasy.
Let me first go over some prerequisites before I begin this tutorial. These are the necessary items for configuring and using your Amazon Fire TV Stick. Please be aware that your Fire Stick box will not contain these items, obviously! These are the following:
A TV that is compatible is the most important prerequisite. To utilize the Fire Stick, you’ll need an HDTV (720p or above) and an HDMI connector.
Internet Connection: The Fire Stick lacks independent internet access. For your Fire Stick to successfully stream high-definition videos, you must connect it to a strong and active Wi-Fi network.
Finally, but just as importantly, you must link your Amazon FireStick to your Amazon account. The Fire Stick will arrive pre-registered with your Amazon account if you order it using that account. You are free to alter it whenever you choose. In this post, I’ll walk you through setting up your Fire Stick account registration.
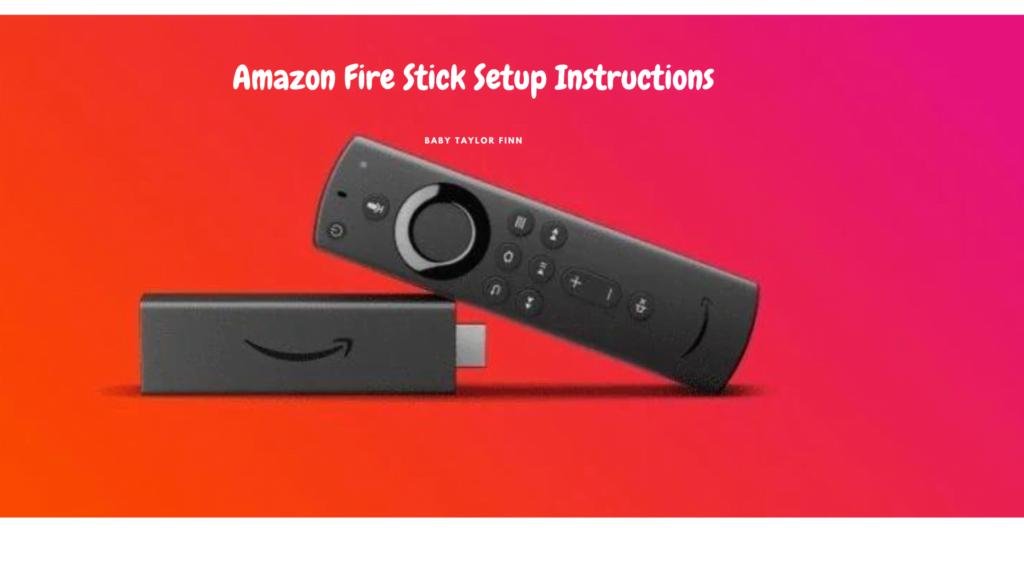
Now that everyone is set up, let’s get going. This guide will walk you through the initial setup of your Amazon Fire TV Stick. To make things easier, I have broken down the setup procedure into multiple pertinent sections.
Part 1: Introduction
- Purchase a Fire TV Stick. It has an HDMI connector and a micro-USB port. Place one end of the USB power cord into the power converter brick and the other end into the micro-USB port on your Fire Stick.

- Proceed to attach the power adapter to an electrical outlet. (Note: Using the power adapter in a wall outlet is advised rather to the powered USB ports that some TVs offer.)
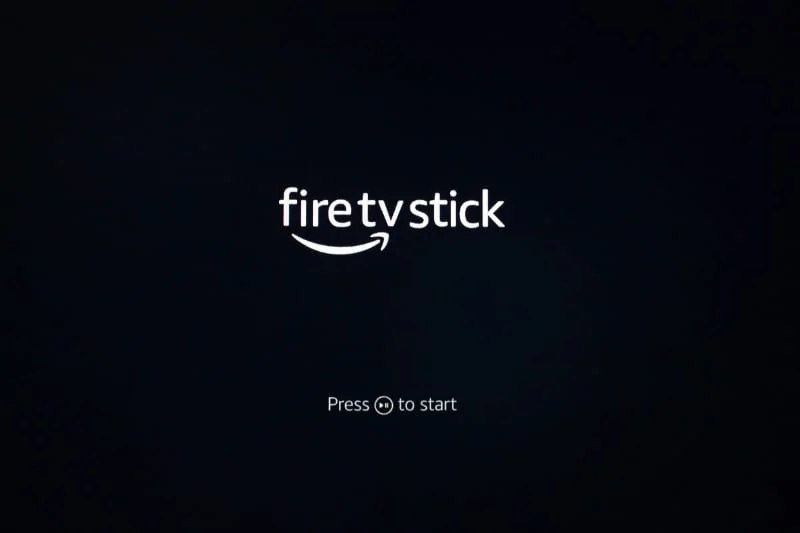
4. Turn on your TV and change the input to the corresponding HDMI channel. You’ll see a loading screen with the Fire TV Stick logo. It might take some time to load for the first time, so don’t worry.
5. Now it’s time to set up your Fire Stick remote. First, insert the two AAA batteries included in the box.
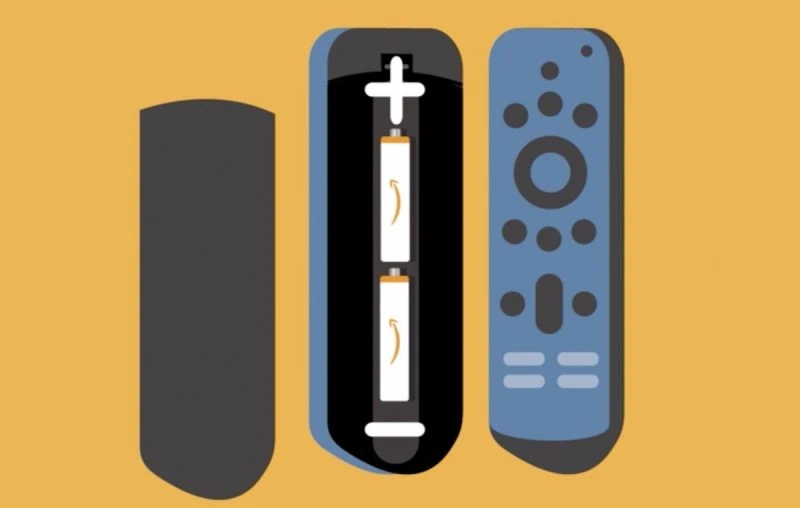
Now the remote should automatically pair up with the Fire Stick. However, if it doesn’t pair automatically, just press and hold the home button on your remote for 10 seconds. This will set your Fire Stick to Discovery Mode, and the pairing will be done.
Once the remote is paired with your FireStick, press the play/pause button on the remote to start the set-up process
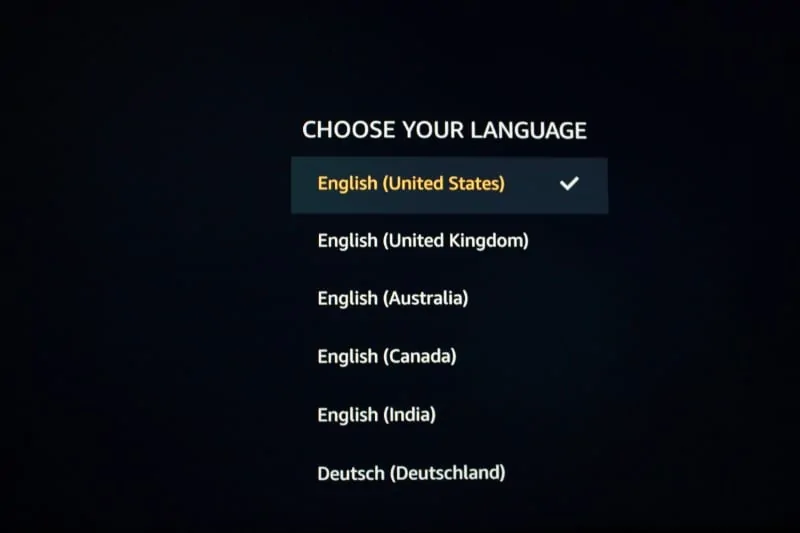
6. Your FireStick will now ask you to choose your preferred language. Highlight your desired language using the navigational button on the remote. Then, to choose the language, press the select/OK button on the remote (the circular button in the center of the navigational buttons).
Part 2: Connect Amazon FireStick to WiFi
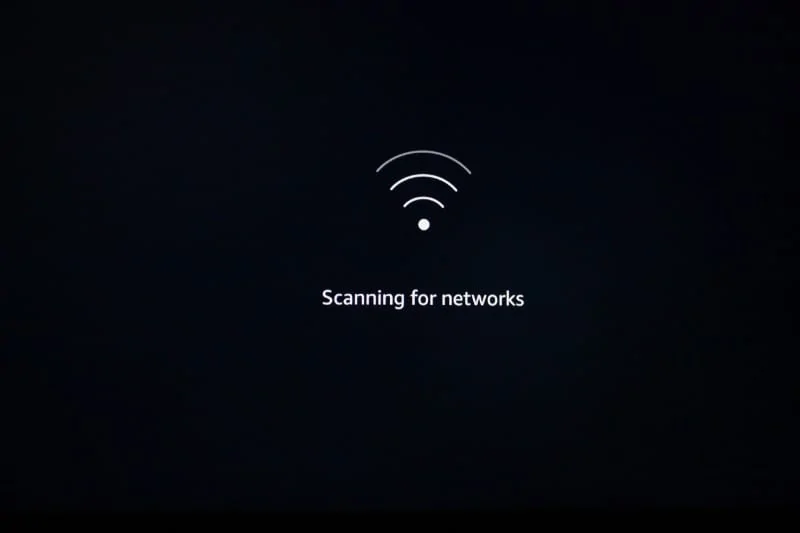
Your FireStick will now scan for the available Wi-Fi networks within range. When you see the list of the Wi-Fi networks, choose your network and enter your SSID (the name of the network) and password (if required) to connect.
Part 3: Register Fire TV/Stick with an Amazon Account
Now it’s time to register your device to your Amazon account. Your Amazon Fire TV Stick will be pre-registered if you ordered it using your Amazon account. However, if that’s not the case or if you wish to register through a different Amazon account, you can just follow the on-screen instructions to register or de-register your Fire TV. (You can learn more about it here.)
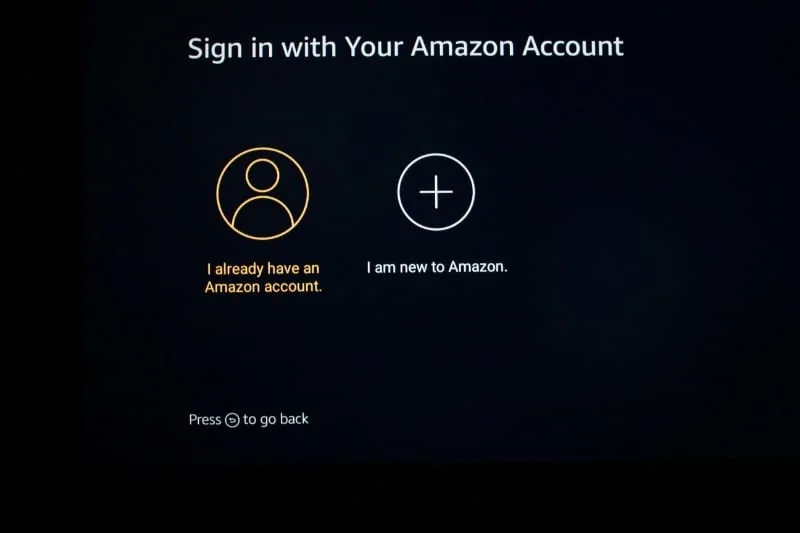
If your FireStick isn’t preregistered, you should see the following screen. If you have an Amazon account, go ahead and select I already have an Amazon account. If not, create an Amazon account first by clicking I am new to Amazon.
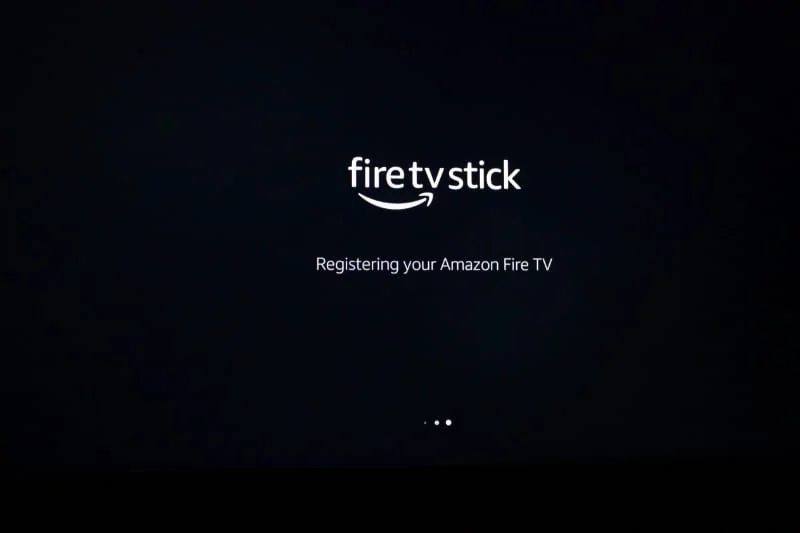
After logging in or creating your account, your FireStick will register to that account. Wait for a few seconds.
Part 4: Wrapping Up the Setup Process
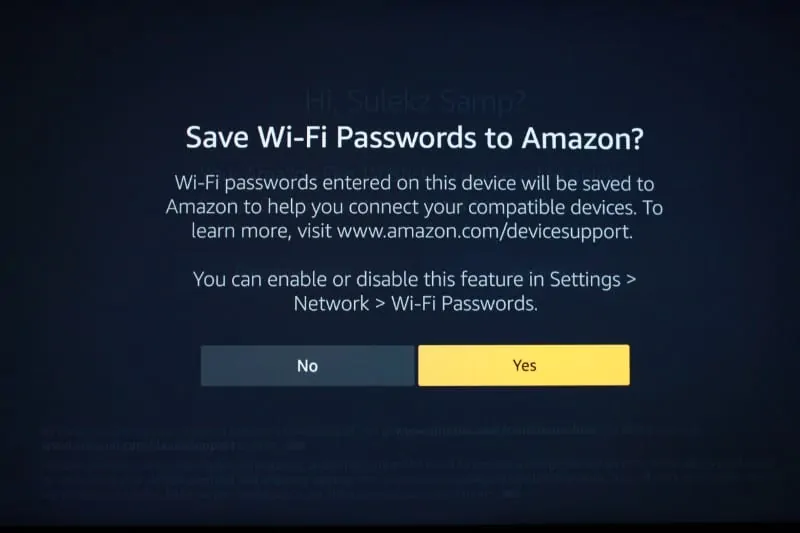
1. When the registration is finished, your FireStick will ask if you wish to save your Wi-Fi password to your Amazon account.
If you use multiple Amazon devices registered to the same Amazon account as your FireStick, it would be a good idea to choose Yes to allow those devices to quickly connect to your Wi-Fi network. If you don’t have any other Amazon devices and don’t intend to buy any in the future, you might as well select No.
Note: If you have reset your FireStick and you’re setting it up again, or if you have already used the Amazon account with another FireStick, you may see the following prompt asking if you wish to restore your device. If you want to reinstall your apps, click the Restore button.
If you are a new FireStick customer (meaning you have never used your Amazon account on any Fire TV device yet), you will not see this prompt.

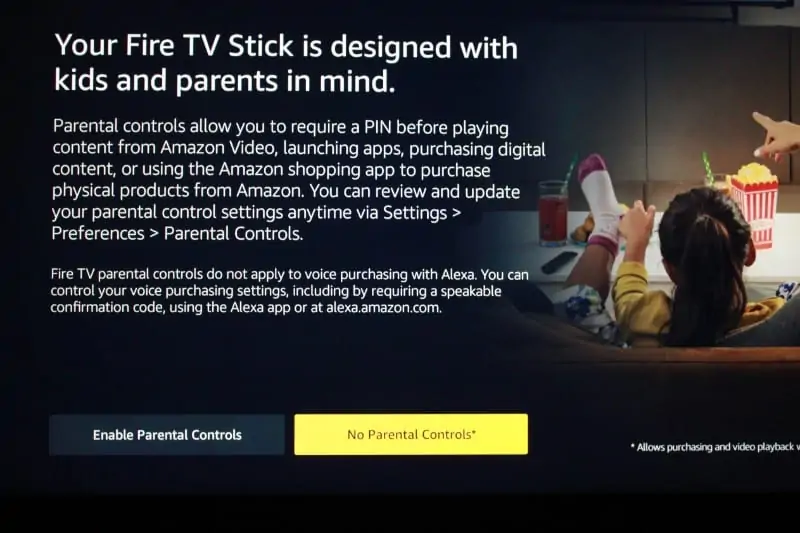
2. If you wish to enable parental controls on your FireStick, click Enable Parental Controls on the next screen. If you do so, you will be asked to set up a PIN on the subsequent window. You will need to enter the PIN for most activities on FireStick.
If you don’t need parental controls, simply click No Parental Controls to proceed.
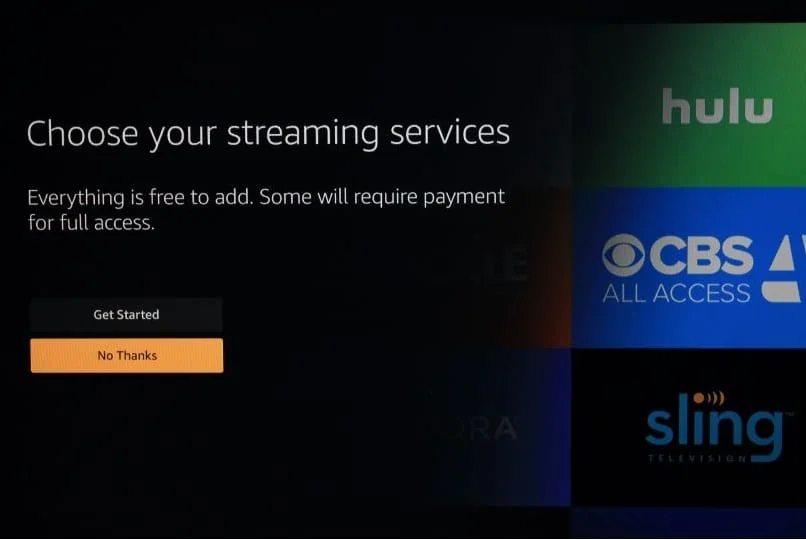
3. You may now click Get Started and choose the apps and streaming services you wish to install before going any further with your FireStick. If you want to install them yourself later, click No Thanks.
If you have a FireStick 2nd Gen with no TV control buttons (volume and power buttons) on the remote, the steps above are all you need to do to set up your device.
If you have a newer FireStick with TV control buttons, continue with Part 5 below.
Part 5: Pair FireStick Remote with TV
The following steps are only for remotes with TV controls. If you don’t have a remote with volume buttons, you can skip this part and move to the next section.
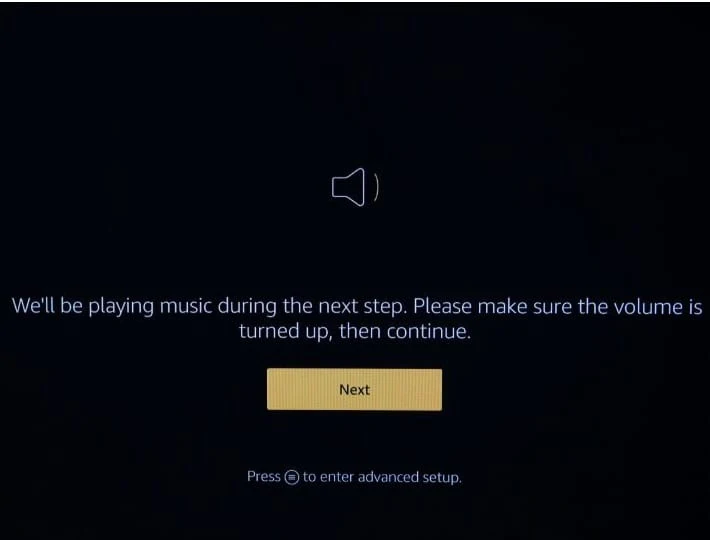
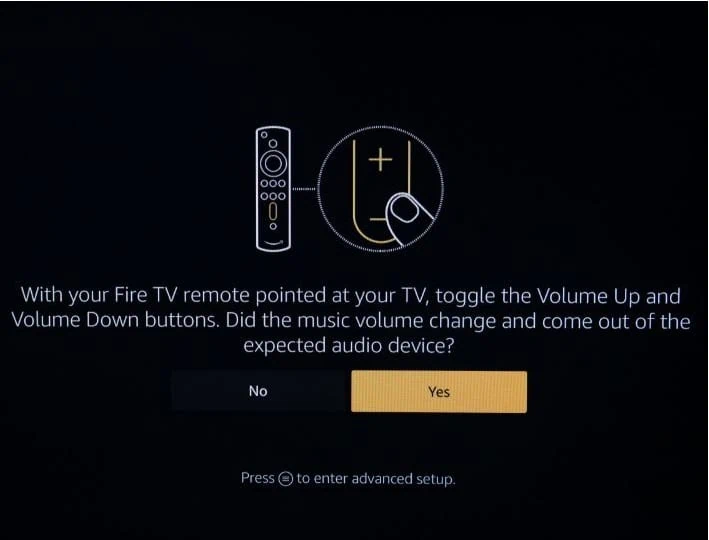
1. When you see this window, click Next.
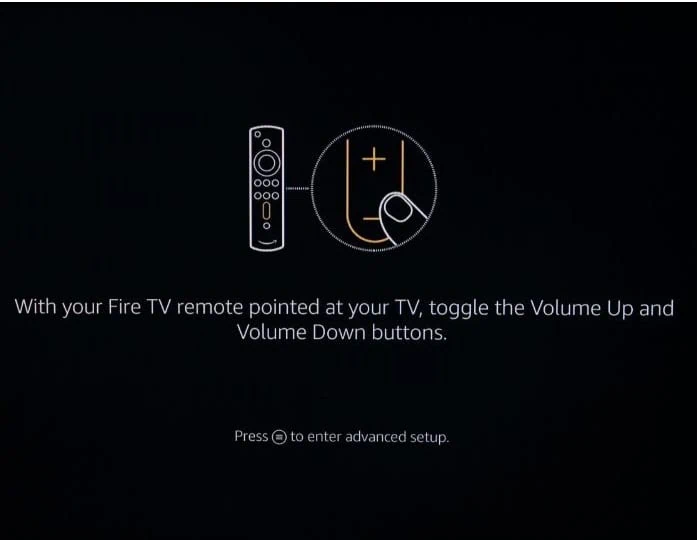
2. Press the volume up and volume down buttons on your remote.
Note: Make sure the remote is pointing at the TV. The volume buttons use the infrared profile for your TV. Therefore, your remote needs to be in the line of sight of your TV for the TV control functions to work.
3. Click Yes if you heard the sound volume change. If not, click No to repeat the process.
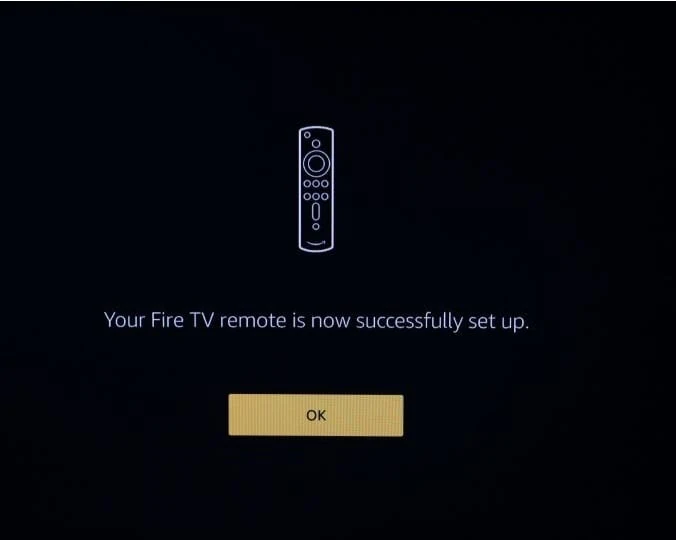
4. When the Fire TV remote has successfully synced, you will see the following message on the screen.
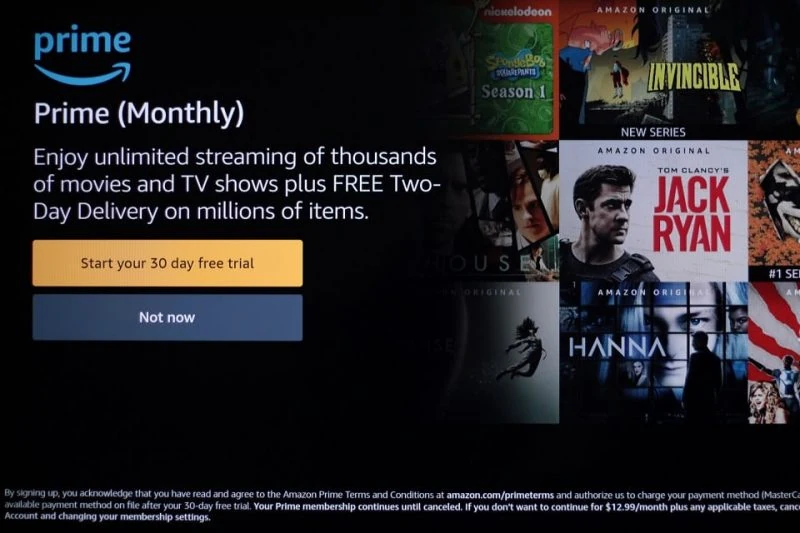
5. If you haven’t subscribed to Amazon Prime, you will see this prompt. Click Start your 30 day free trial to sign up for a Prime trial. Or, click Not now to skip.
6. Next, this window appears. If you wish to install streaming apps like Netflix, Hulu, and Peacock, click Get Started. If you want to install them later, click No Thanks.
7. And, finally, you will see the following window. Click Got It to finish the setup process.
You have successfully set up your FireStick device!
How to Start Using Your FireStick
Now that your FireStick is all set up, you may want to get started right away. Here are some exciting things you should know that are sure to offer a much better FireStick experience.
Jailbreak Your FireStick
The FireStick is an awesome media streaming device. It lets you watch your favorite episodes, movies, and even live TV through apps like Netflix, Hulu, Amazon Prime, and many more. But, there is a serious limitation. These services cost you money, the kind that could easily dent your budget. Furthermore, you can’t get everything you want to watch from one service. You must have multiple subscriptions, and that costs even more.
But, you can easily jailbreak FireStick and never have to worry about paying a penny to watch movies, shows, live TV, and just about anything you want. Jailbreaking is a simple, quick, safe, and legal process. It actually installs Kodi on your Fire TV Stick and then streams content using Kodi Addons and Kodi builds. In short, it gives you access to a bottomless pool of free content.
Install FireStick Apps
No media device is any good without its apps, and FireStick supports dozens of them. There are plenty of apps, both free and paid, that you can install on your FireStick and enjoy endless hours of streaming. The Amazon App Store is a huge repository of cool apps like Netflix and Hulu, and Amazon Prime is built into your device. But, if that’s not enough, you could get loads of amazing third-party apps that let you watch movies and shows for free.
FireStick runs on a modified Android operating system, but at its core, it is much like any other Android device. That’s why plenty of third-party Android apps work flawlessly on your FireStick. A lot of them are remote-friendly, and the ones that are not can always be used with Mouse Toggle on FireStick. Take a look at our best FireStick apps and get started.
Stay Protected with a VPN
I believe I can never say enough about how important it is to exercise caution and take the proper measures to ensure your safety online. The internet exposes you to the prying eyes of your ISP, third parties like hackers, and even your own government. All your online activities can be traced back to you easily. And, when you stream free movies and shows through third-party apps, there is a chance you might land in trouble.
I am not condoning copyright violations. But, I rigidly uphold the concept of rights to our privacy, and it must never be compromised. Therefore, I recommend using a VPN with FireStick.
A VPN redirects your online activities through an encrypted server and makes sure your presence on the internet remains private and anonymous. I recommend ExpressVPN, as it is the fastest and most reliable VPN service for Fire TV Stick.
Here are the steps to get started:
Step 1: Subscribe to ExpressVPN HERE. It comes with a 30-day money-back guarantee. Meaning, you can use it free for the first 30-days and if you are not satisfied with the performance (which is highly unlikely), you can ask for a full refund.
Step 2: Power ON your Fire TV Stick and go to Find followed by Search option.
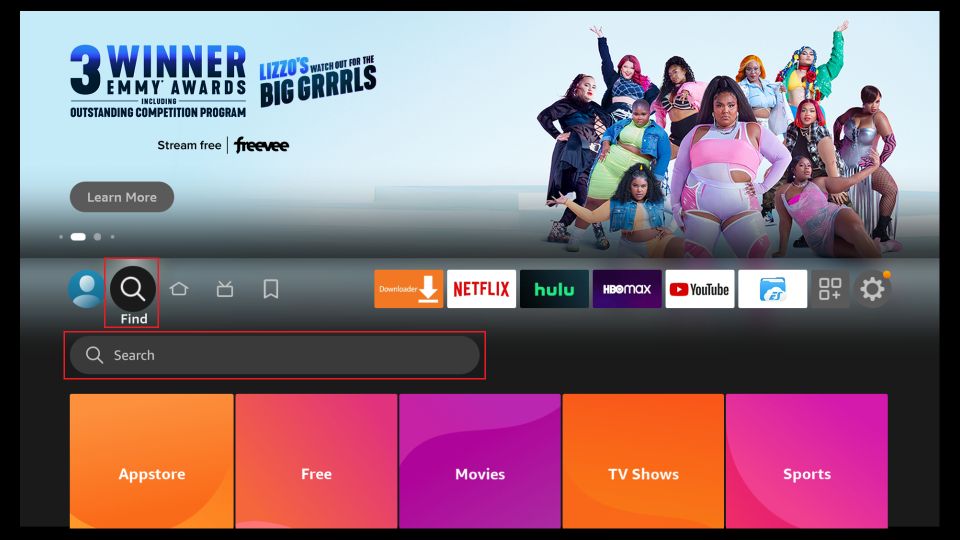
Step 3: Now type “Expressvpn” (without quotes) in the search bar and select ExpressVPN when it shows up in the search results.
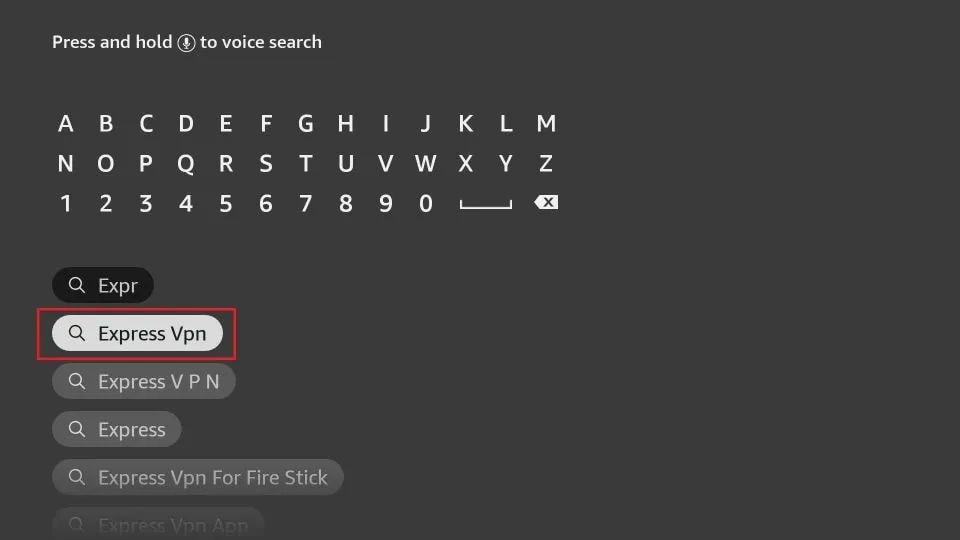
Step 4: Click Download to install the ExpressVPN app on Fire TV / Stick.

Step 5: Open the app and enter the login credentials that you created while buying the ExpressVPN subscription. Click Sign in.

Step 6: Click the Power icon to connect to a VPN server. That’s all. Your connection is now secure with the fastest and best VPN for FireStick.
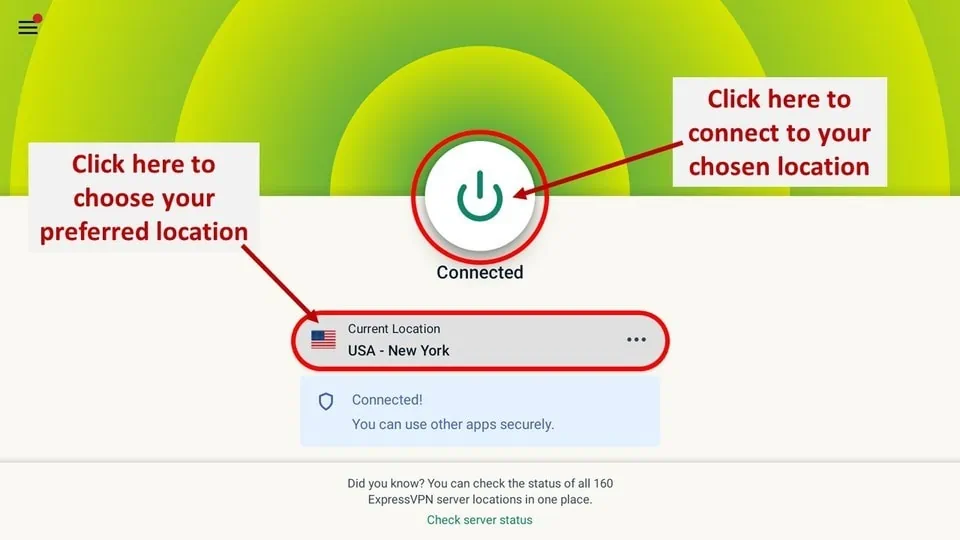
You can also read more detailed info on using ExpressVPN with Fire TV / Stick.
Conclusion
That’s it. You have successfully set up your Amazon Fire TV Stick for the first time. You can now enjoy the vast ocean of multimedia content with the help of different apps or the jailbreaking process as I suggested above. I hope this helped. Still, should you encounter any Amazon FireStick setup problems, feel free to let me know through the comments section below. Before you leave, don’t forget to check the best settings for FireStick that I believe every user should apply right now.
Related Guides:
- FireStick not Working – Problems & Solutions
- How to Fix FireStick Remote Issues
- Where Do I Enter Amazon FireStick Activation Code?
[…] Step 1: Prepare the Remote […]